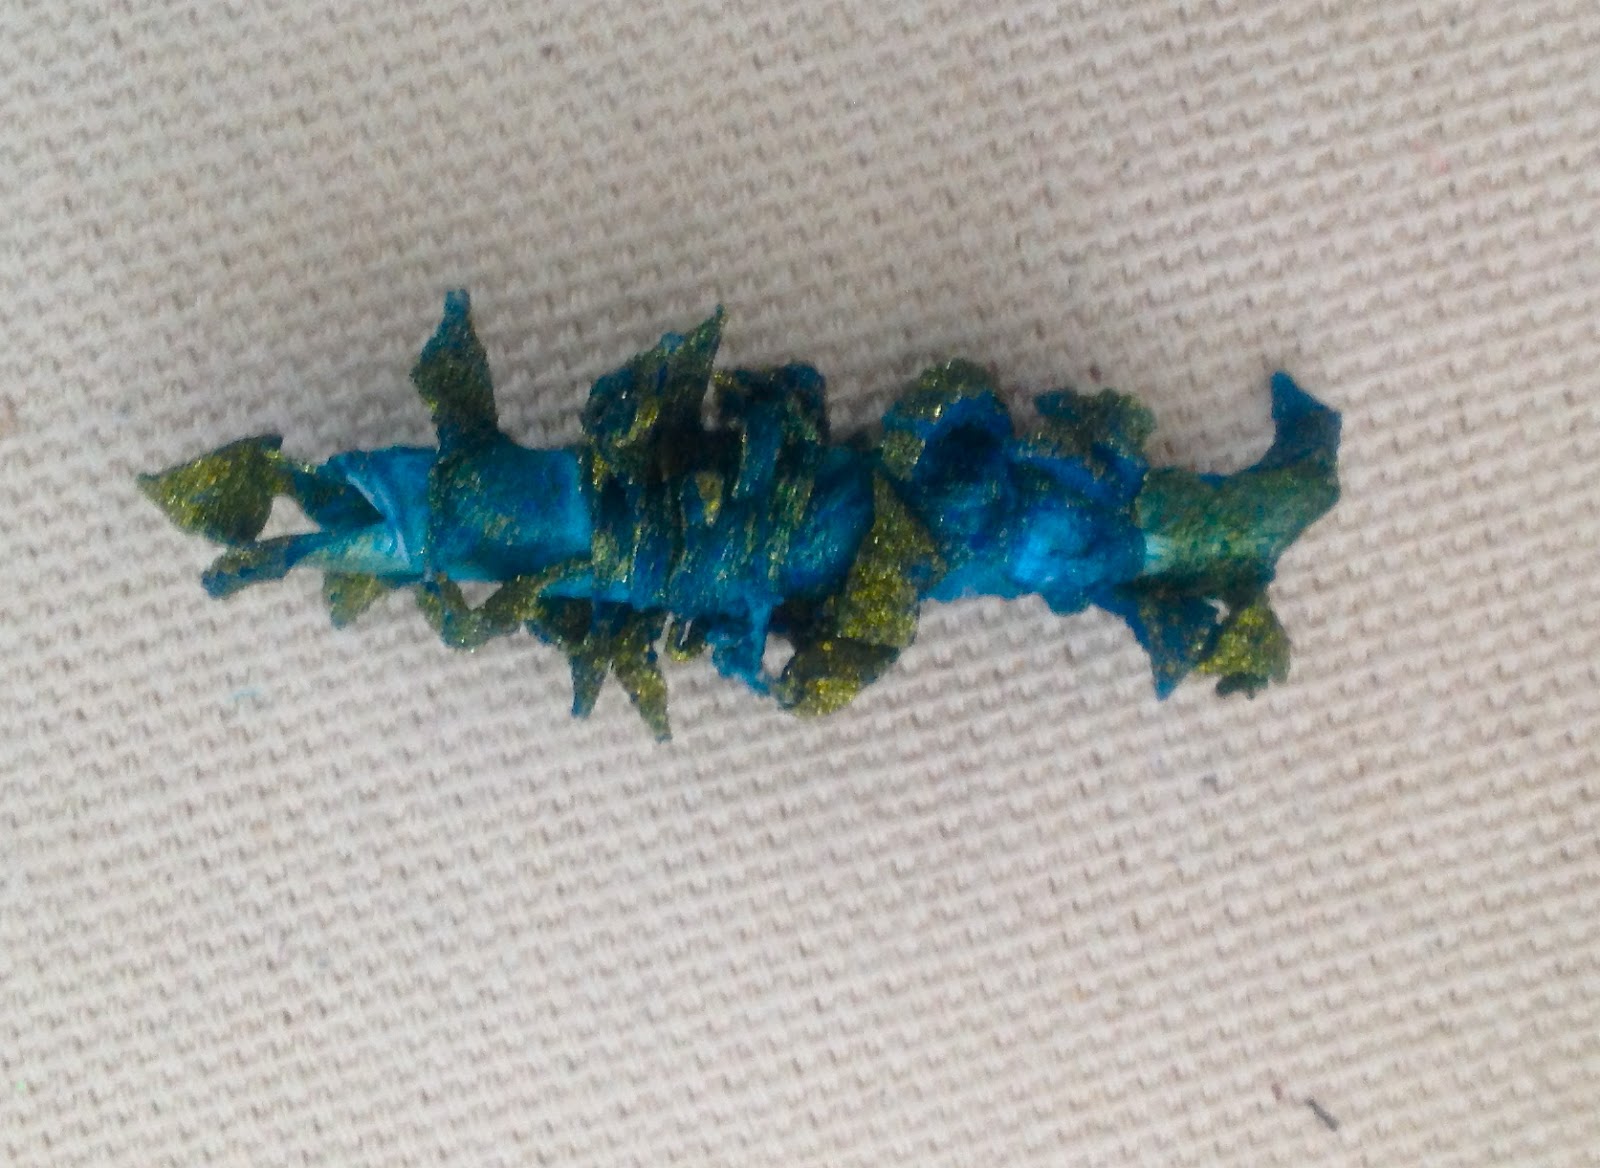
Tyvek Beads
One of the very easy ways to make an interesting bead is to use Tyvek. Tyvek is the the plastic that is used in envelopes, paint suits and so on. The envelopes are available at stationery stores and art stores.
How to make the beads:
 |
| Tyvek piece painted with Lumiere paint |
- Paint both sides of the Tyvek. Tyvek dries really quickly and takes very little paint to cover it. I found that using Light Body Metallic Acrylic Lumiere paints by Jacquard were especially wonderful as they combine a color with gold, so you get a combined effect from one paint.
 |
| Triangle of Tyvek with edges slashed |
- Cut a piece of the painted Tyvek in a long triangle, approximately 1 to 1 1/2 inches at one end and narrowing to a point at the other. You can also cut a straight rectangle, 1 inch by 6 inches if you want to have a different type of bead.
 |
| Tyvek rolled around skewer and held with a pin |
- Slice along the sides of the triangle, putting 1/4 inch slashes either straight toward the middle or on an angle.
- Roll the tyvek around a bamboo skewer, or knitting needle, starting with the wide end first and finishing with the pointed end.
- Pin the end with a pin to hold the bead together.
- Using the heat gun, heat the bead. You will see that it quickly melts to attach itself together, so you can remove the pin right away or wait until the bead is completely finished. The slashes you made along the Tyvek now curl up and melt and create a really interesting texture to the bead.
- Wait until the bead cools, then remove it from the bamboo skewer by simply sliding it off.
 |
| Tyvek bead completed |
Wow! Aren’t these great and perfect for adding to your next mixed media piece.