Showing posts with label tyvek. Show all posts

Sunday, 8 November 2015

Canvas - Experimental Sample for City and Guilds


It has been awhile since I have updated my progress with my City and Guilds Level 3 modules.  A recent presentation I made has prodded me to do some blogging about it. So, going back to Module 2, after the research on an artist (I chose a digital artist), the notes on shape as a design element, and the design exercises, we moved onto the stitching samples. I already shared about the Blackwork sample, so this time I will post about my experimental sample. 


Experimental Canvas Sample

As this experimental sample was to be done on canvas, we were instructed to create our own design, as most of our line designs and the shape designs created in Modules 1 and 2 would not be easily translated onto canvas. So, keeping in mind that the focus on the module is shape, I tried to create and add a variety of shapes on the canvas (12 count).  


Canvas sprayed with ink, painted Wonder Under applied and stencilled


I started by spraying the canvas with acrylic inks, and then applied chunks of painted Wonder Under to it.  I also added a little Angelina fibre to add a tiny bit of sparkle. Finally, I stencilled on the canvas with paint. 


Distressed painted Tyvek, crocheted washer, stitching, and commercial trim


I also wanted to add several diverse elements to the piece win addition to those achieved with thread, so I added painted wood sticks wrapped with wire, Sizoflor, silk sari yarn, distressed Tyvek, leather, paper, commercial trim, and crocheted and thread covered washers.


Painted wood sticks with wire accents


The stitching was done with a variety of threads, from a heavy acrylic yarn, to a #8 pearl cotton. 


Working on a canvas was different for me, as I usually work on a fairly solid background of some sort. It was also different to create elements that were basically linear, except for the washers.  All in all, it was engaging and this was the final piece for Module 2. 

Wednesday, 15 May 2013


Tyvek Beads


One of the very easy ways to make an interesting bead is to use Tyvek. Tyvek is the the plastic that is used in envelopes, paint suits and so on. The envelopes are available at stationery stores and art stores.

How to make the beads:

Tyvek piece painted with Lumiere paint

  1. Paint both sides of the Tyvek.  Tyvek dries really quickly and takes very little paint to cover it. I found that using Light Body Metallic Acrylic Lumiere paints by Jacquard were especially wonderful as they combine a color with gold, so you get a combined effect from one paint.
    Triangle of Tyvek with edges slashed
  2. Cut a piece of the painted Tyvek in a long triangle, approximately 1 to 1 1/2 inches at one end and narrowing to a point at the other. You can also cut a straight rectangle, 1 inch by 6 inches if you want to have a different type of bead.
    Tyvek rolled around skewer and held with a pin
  3. Slice along the sides of the triangle, putting 1/4 inch slashes either straight toward the middle or on an angle.
  4. Roll the tyvek around a bamboo skewer, or knitting needle, starting with the wide end first and finishing with the pointed end.
  5. Pin the end with a pin to hold the bead together.
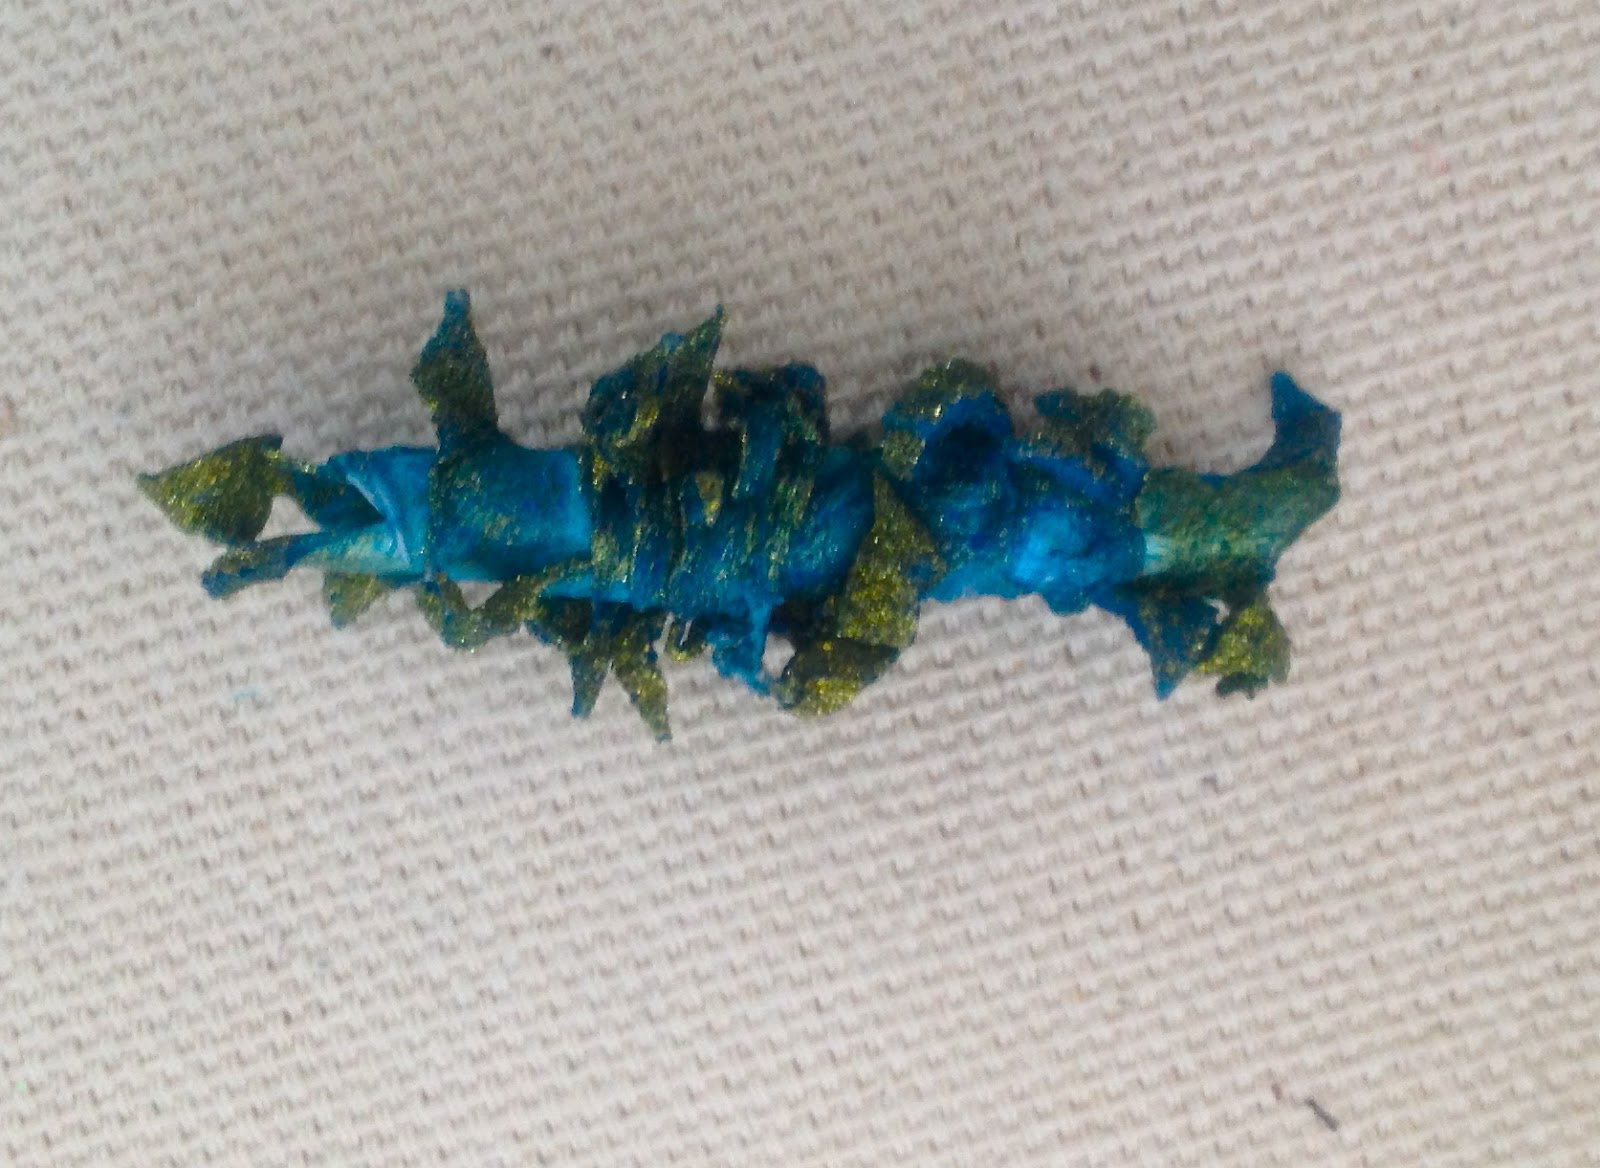
  6. Using the heat gun, heat the bead. You will see that it quickly melts to attach itself together, so you can remove the pin right away or wait until the bead is completely finished. The slashes you made along the Tyvek now curl up and melt and create a really interesting texture to the bead.
  7. Wait until the bead cools, then remove it from the bamboo skewer by simply sliding it off.
    Tyvek bead completed

Wow!  Aren’t these great and perfect for adding to your next mixed media piece.