Saturday, 10 January 2015

Hungarian Braided Chain Stitch

I have been doing a lot of embroidery lately, and have been enjoying learning some new embroidery stitches. I am glad to share these directions for a stitch that you do not see very often:

Hungarian Braided Chain Stitch

Hungarian Braided Chain Stitch (Also known as Braided Chain Stitch) 


This stitch is worked as a reverse chain stitch. This raised stitch very good for making bold lines of stitching.  


#1.

#2

Initially take a small stitch and make this into an isolated chain stitch, or daisy stitch. (See photos 1 and 2)


#4


#3


Now, Make another chain stitch, using the first stitch made, but do not pull this stitch tight. (Photos 3 & 4)


#5
#6

Make another chain stitch, putting the needle under the loops of the first chain stitch made. These are the inner loops. Before pulling the thread through, pull the thread fairly snug around the needle, tightening the loops of the previous chain stitch. (Photos 5 & 6)


#7


Continue making loose chain stitches, bringing the needle through the previous chain stitch loops, and then tightening the outer loops after putting the needle under the inner loops.


Thursday, 13 March 2014

I am involved in an upcoming show with the Surface Design Association.  Here is the poster:

Friday, 31 January 2014

Spray Hand Sanitizer Image Transfer

To begin the new year in my Fibre Optics Group, we experimented with different types of image transfers. We used Transfer Artist Paper, gel medium, glue, acrylic paint, Citra Solve and hand sanitizer. To see the results, please see the Fibre Optics Blog.

What I want to describe is using the spray hand sanitizer.  I had seen this done on an art journalling video in order to transfer an image to a carving block to make a stamp.  I researched on the internet, but no one was doing any image transfers onto fabric with this method. People are using gel hand sanitizer, but not the spray.

I decided to give it a try and I loved the results. 

 Here is how you do it:

You need to print your image to be transferred onto an inkjet transparency with an inkjet printer.  You can transfer in black and white, or in colour.  Make sure that you print onto the rough side of the transparency.  If you print on the smooth side, the ink will smudge as soon as you touch it.

Let the transparency dry.  (They work best transferring the image within 24 hours) Cut around the image if you are using only a portion of the transparency so you do not waste it. I print several images on the one transparency and then cut them up separately.

Have your fabric ready, as this works really quickly.  Your fabric should be washed, so any sizing is removed.
Dover Copyright Free Image
transferred to canvas


Next, spray the image with the spray hand sanitizer and immediately place it, sprayed side down, onto the fabric.  Burnish it with your hand, spoon, or other tool. Hold it in place with one hand while you do this to make sure the transparency does not move.  Lift up a corner, while still holding it, to see how the image has transferred. If it has not transferred completely, or as much as you would like, just spray that portion and push it down on the fabric again. Continue to do this on all portions of the transparency, until you are satisfied with the transferred image.

I really liked the images that I transferred onto the canvas cloth.
Image of "Portrait of a Man" by Luca Signorelli
also transferred to canvas


Tuesday, 17 December 2013

November at the Fibre Optics Group

The November meeting of the Fibre Optics Group began with another warm up collage. As we have mentioned before, we are focussing on a design principle or element at the beginning of each meeting. We then start the clock and have only a half hour to produce a collage illustrating the principle/element chosen for the month.We have a tub full of various supplies, and these are the only things we are allowed to use to make our collage. 
Half Hour Collages

In November, Judi presented the design principle/element of LINE.  Line is defined as “a mark, long in it’s proportion to its breadth, made on a surface with a pen, pencil, tool, etc.” Line is often referred to the “the most basic element of design”, yet it functions in complex ways and can express a variety of verbal and visual concepts.

Here is a photo of our collages. It is easy to see that we all have different styles in our approach and resulting collages.


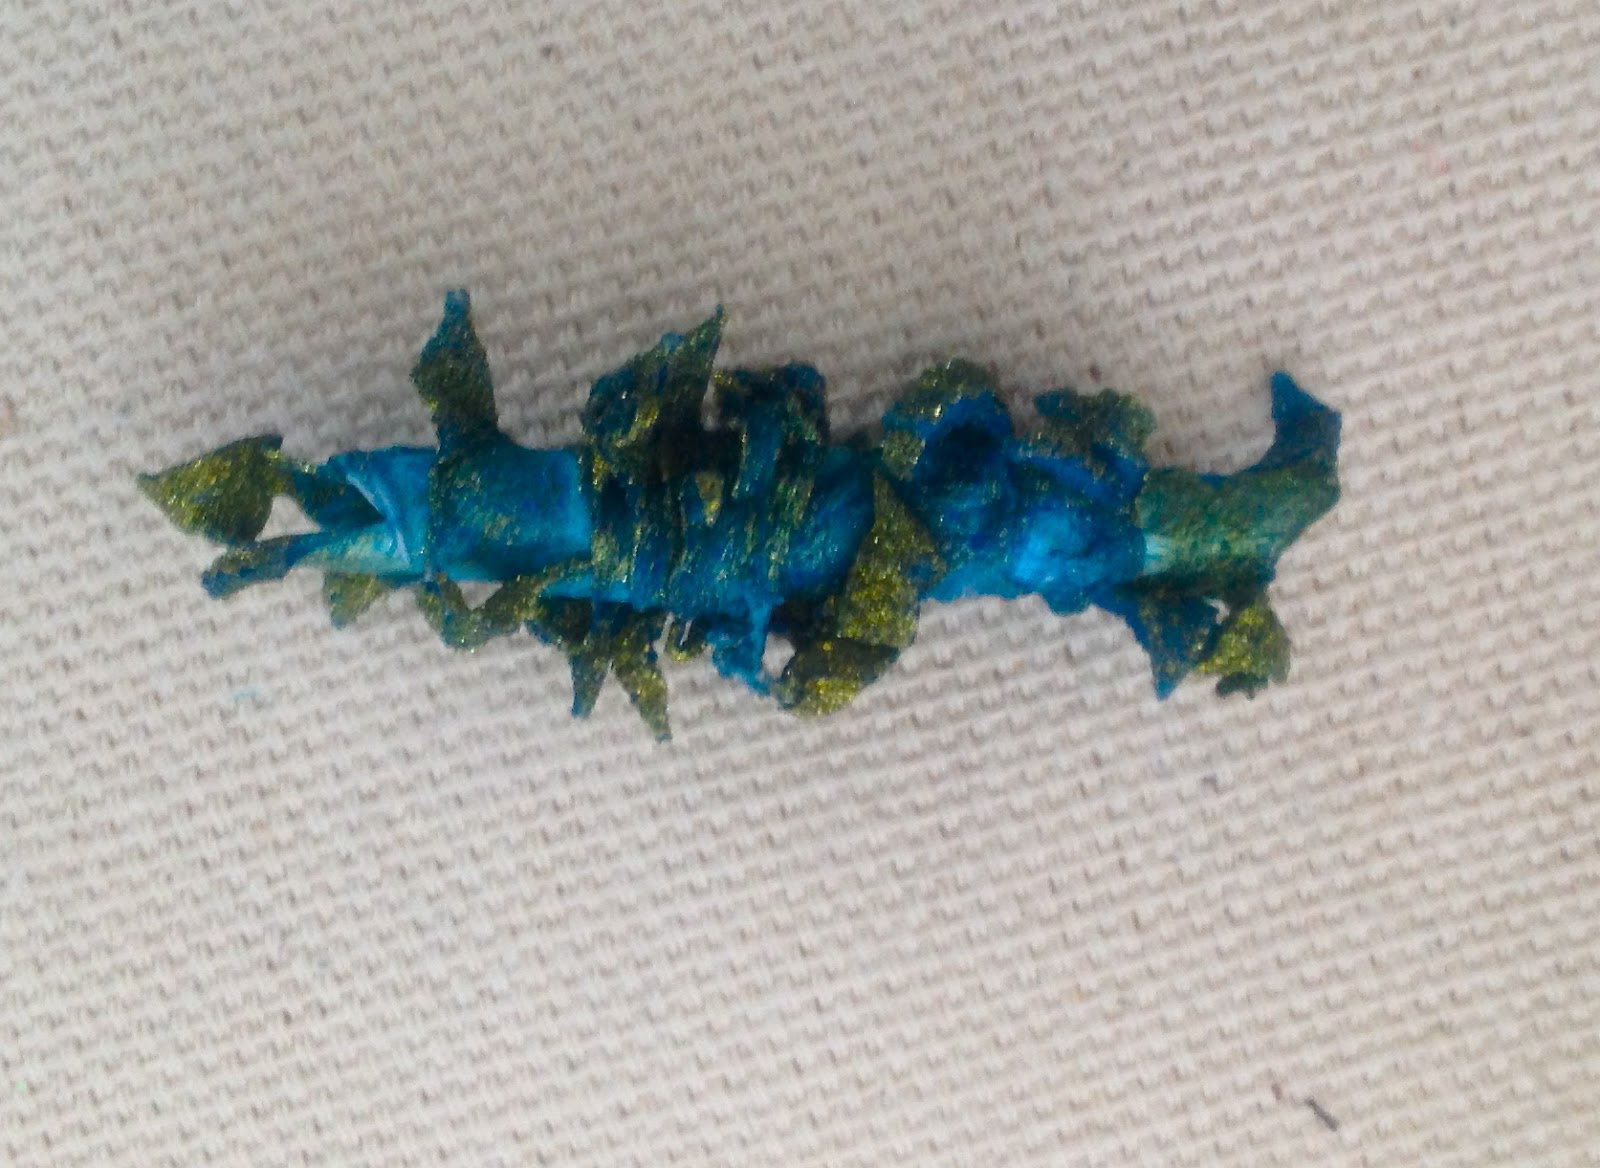
UTEE embellishments and
shrink plastic embellishments

After this, we were ready to start our play time. We were working with Melt Art™ Ultra Thick Embossing Enamel™.  We dipped or sprinkled, then heated with a heat gun. We melted it in a Ranger’s Melting Pot®, and then poured, dipped and let it dry. We stamped into it, poured it onto stamps, and anything else we could think of to try. As you will see from the photos, we did some amazing things that day. 


Shrink Plastic flower formed
with a heat gun
You can also use the melting pot to shrink your Shrink Art Plastic. Everyone had at least one sheet of Grafix Shrink Film to try.

I brought along my Sissix Big Shot machine and some dies, so that added another dimension. Cutting out a large flower from the shrink film, colouring it with ink, felt pen, or even pencil crayons and then shrinking it with the heat gun was the start. We soon learned that we could manipulate the petals while they were hot. This pliability does not last long, but we determined you could re-heat it if necessary.  Yet another interesting discovery!


I also wanted to leave you with a snapshot of a few of us busy working at our tables.  We are messy, but Creative!

Saturday, 3 August 2013

Alberta Rose

Completed Alberta Rose


I have just completed and submitted my 4" X 4" Alberta Rose canvas to the Alberta Flood Rose Project. So, here is a description of how I constructed my piece for this project.


Fibre background on black canvas
Close up view of the felted background
I started by painting my canvas black. My next layer was a section of a needle felted piece. This was made with several fibres sandwiched between pieces of organza and then needle felted with my embellisher machine.  Once the piece was completely needle felted, I heated it with the heat gun. This melts the organza and other synthetic fibres fairly quickly, so I had to be diligent in making sure it did not disintegrate.

The rose itself was made by thread painting on two layers of organza. However, the difference between what I did and what most people do when thread painting is that I did not totally thread paint the entire surface. I just outlined the petals and some highlighting on the petals. The petals were then cut out with a soldering iron. The petals were attached by sewing them at the centre.
Perle cotton stamens

The stamens were a little tricky to make. I painted Number 8 White Perle Cotton with yellow acrylic paint and cut the stamens to size. These were then coated with 3 coats of clear nail polish. I then dipped the stamen ends into hot glue to form the ends. Once dried, I embossed the glue using a Versamark stamp pad and yellow embossing powder. When you heat the glue to emboss it, the glue starts to re-melt quite quickly, so I simply just reformed the ends to the shape I wanted.

French knots added to build up the centre
These stamens were attached with glue and then I added the french knots in light green, white and yellow embroidery floss to build up the centre and help to hold the stamens in place.

I mounted the rose on the background with gel medium. I also coated the black canvas with gel medium to give it a bit of gloss.

All in all, I am very happy with the rose and am very happy to be part of this project.


Finished


Monday, 8 July 2013

Geisha on Cheesecloth

Geisha 


I have just finished creating this Japanese Geisha lady piece and thought I would detail some of the aspects of it.


Cheesecloth image 
I really enjoyed creating this one. First, I printed the Dover image of the Japanese Geisha onto cheesecloth.  The texture of the cheesecloth really adds to the image. In order to do this, the cheesecloth was temporarily adhered to freezer paper by ironing it. Once it was printed, I frayed the edges somewhat.  

The second layer is a piece of fabric stamped with Chinese script.  I then beaded and embroidered the cheesecloth image. The layers of paper behind the fabric are pieces of coffee dyed paper torn from a discard book picked up at the library.  The burlap was toned with a stamp pad and the piece is mounted onto a painted canvas.  


Felted Flower
Images glued to glass domes
The felted flower in the lower left was made by stamping white poly felt, with an espresso ink and then cutting the different size petals (two sets of four for three different sizes. The petals were attached together with a brad and then I used the heat gun to distress the flower.  The leaves are made of distressed felt that was cut with my Big Shot by Sissix, using a Tim Holz die.  The glass domes of the geisha images are readily available on Ebay and the images were purchased through Etsy.  


Wednesday, 15 May 2013


Tyvek Beads


One of the very easy ways to make an interesting bead is to use Tyvek. Tyvek is the the plastic that is used in envelopes, paint suits and so on. The envelopes are available at stationery stores and art stores.

How to make the beads:

Tyvek piece painted with Lumiere paint

  1. Paint both sides of the Tyvek.  Tyvek dries really quickly and takes very little paint to cover it. I found that using Light Body Metallic Acrylic Lumiere paints by Jacquard were especially wonderful as they combine a color with gold, so you get a combined effect from one paint.
    Triangle of Tyvek with edges slashed
  2. Cut a piece of the painted Tyvek in a long triangle, approximately 1 to 1 1/2 inches at one end and narrowing to a point at the other. You can also cut a straight rectangle, 1 inch by 6 inches if you want to have a different type of bead.
    Tyvek rolled around skewer and held with a pin
  3. Slice along the sides of the triangle, putting 1/4 inch slashes either straight toward the middle or on an angle.
  4. Roll the tyvek around a bamboo skewer, or knitting needle, starting with the wide end first and finishing with the pointed end.
  5. Pin the end with a pin to hold the bead together.
  6. Using the heat gun, heat the bead. You will see that it quickly melts to attach itself together, so you can remove the pin right away or wait until the bead is completely finished. The slashes you made along the Tyvek now curl up and melt and create a really interesting texture to the bead.
  7. Wait until the bead cools, then remove it from the bamboo skewer by simply sliding it off.
    Tyvek bead completed

Wow!  Aren’t these great and perfect for adding to your next mixed media piece.